In the previous posts we learnt how to code and debug Chromium for Android C++ code from Eclipse. In this post I’m going to explain how to open the ChromeShell Java code, so that you will be able to hack on it like you would in a normal Android app project. Remember, you will need to install the ADT plugin in Eclipse and the full featured adb which comes with the standalone SDK from the official page. Don’t try to reuse the android sdk in “third_party/android_tools/sdk”.
Creating the Java project in Eclipse
Follow these instructions to create the Java project for ChromeShell (for instance):
- File, New, Project…, Android, Android project from existing code
- Choose “src/chrome/android/shell/java” as project root, because there’s where the AndroidManifest.xml is. Don’t copy anything to the workspace.
- The project will have a lot of unmet package dependencies. You have to manually import some jars:
- Right click on the project, Properties, Java build path, Libraries, Add external Jars…
- Then browse to “src/out/Debug/lib.java” (assuming a debug build) and import these jars (use CTRL+click for multiple selection in the file chooser):
- base_java.jar, chrome_java.jar, content_java.jar, dom_distiller_core_java.jar, guava_javalib.jar,
- jsr_305_javalib.jar, net_java.jar, printing_java.jar, sync_java.jar, ui_java.jar, web_contents_delegate_android.jar
- If you keep having problems, go to “lib.java”, run this script and find in which jar is the class you’re missing:
for i in *.jar; do echo "--- $i ---------------------"; unzip -l $i; done | most
- The generated resources directory “gen” produced by Eclipse is going to lack a lot of stuff.
- It’s better to make it point to the “right” gen directory used by the native build scripts.
- Delete the “gen” directory in “src/chrome/android/shell/java” and make a symbolic link:
ln -s ../../../../out/Debug/chrome_shell_apk/gen .
- If you ever “clean project” by mistake, delete the chrome_shell_apk/gen directory and regenerate it using the standard ninja build command
- The same for the “res” directory. From “src/chrome/android/shell/java”, do this (and ignore the errors):
cp -sr $PWD/../res ./
cp -sr $PWD/../../java/res ./
- I haven’t been able to solve the problem of integrating all the string definitions. A lot of string related errors will appear in files under “res”. By the moment, just ignore those errors.
- Remember to use a fresh standalone sdk. Install support for Android 4.4.2. Also, you will probably need to modify the project properties to match the same 4.4.2 version you have support for.
And that’s all. Now you can use all the Java code indexing features of Eclipse. By the moment, you still need to build and install to the device using the command line recipe, though:
 ninja -C out/Debug chrome_shell_apk
 build/android/adb_install_apk.py --apk ChromeShell.apk --debug
Debugging Java code
To debug the Java side of the app running in the device, follow the same approach that you would if you had a normal Java Android app:
- Launch the ChromeShell app manually from the device.
- In Eclipse, use the DDMS perspective to locate the org.chromium.chrome.shell process. Select it in the Devices panel and connect the debugger using the “light green bug” icon (not to be mistaken with the normal debug icon available from the other perspectives).
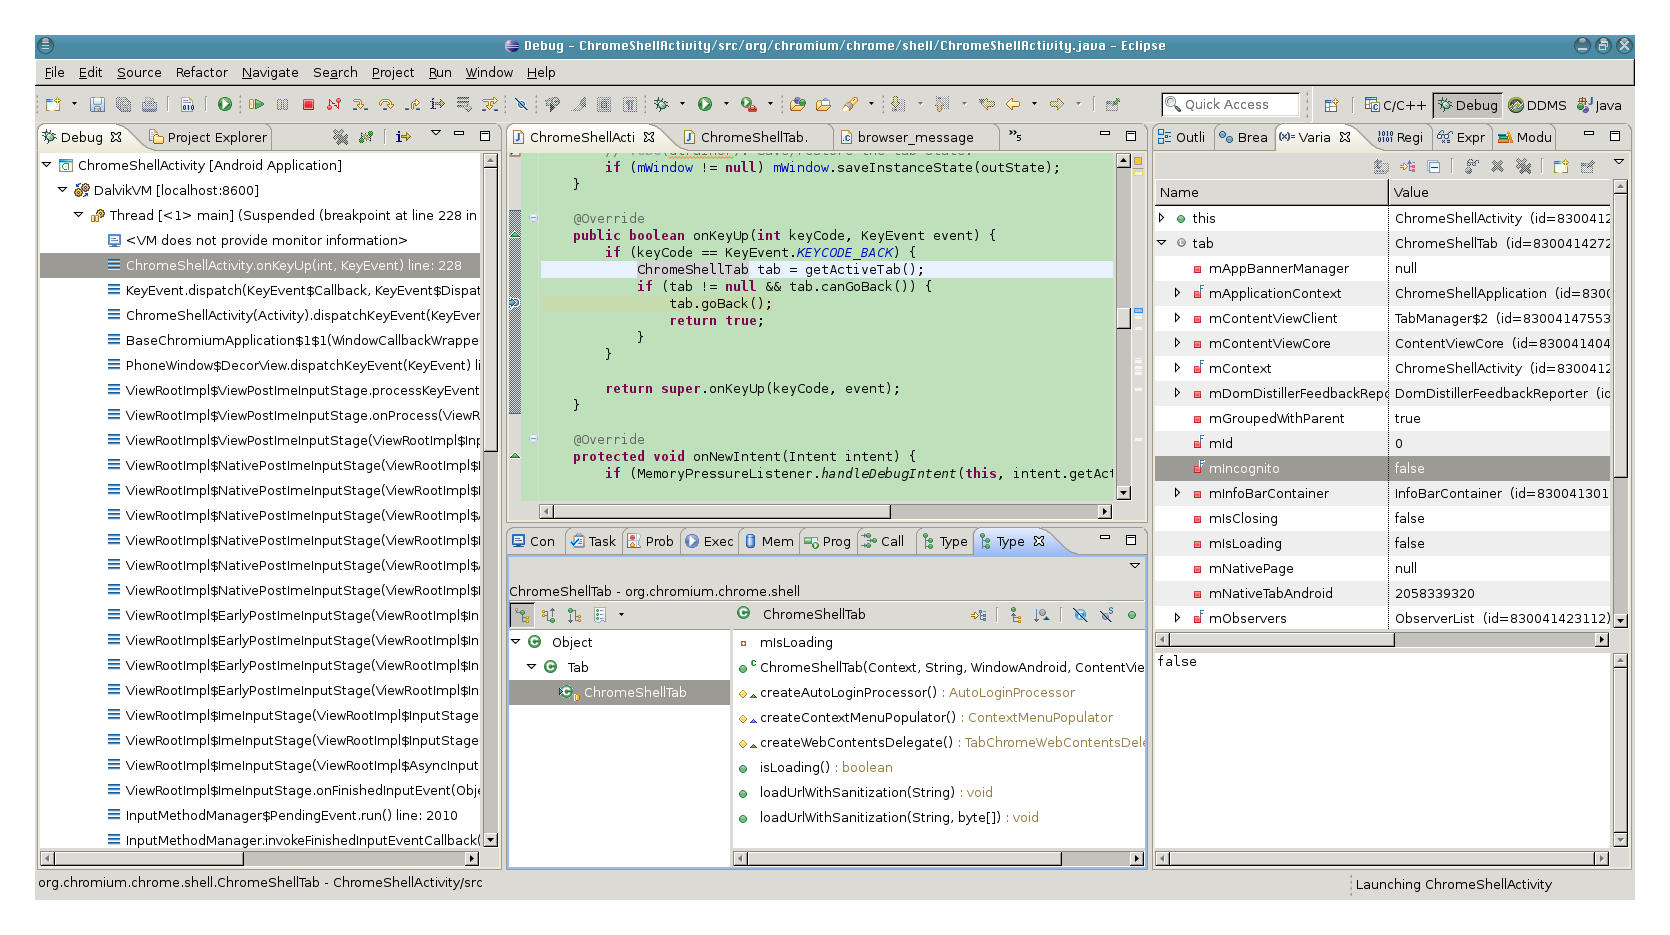
- Change to the Debug perspective and set breakpoints as usual.
Enjoy!
“ADT plugin in Eclipse” is no available anymore. I could not make this work on 2019.
Sorry, this post is very old and it’s been a while since I worked with chromium on Android. I don’t know what would be the way to get it working today.